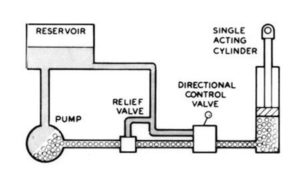
When we started, we didn’t have this basic understanding and it caused us to make a number of mistakes. For example, a single action cylinder requires a “port” to allow air to move in and of the lower chamber. In most applications, having the air port open to the environment isn’t a problem. But with the Newgren setup, the port is right down in the dirt and dust. The designers wisely used the extra space in the reservoir, as an “air tank” by attaching a hose from the lower cylinder port to the top of the reservoir. We overfilled the reservoir, not understanding the need for the air space, and it resulted in a pressurized system. Adding to our problem was the lack of a relief valve as shown in the diagram. The end result was blown seals in the pump and damage to the cylinder seals.
Simple, but not easy
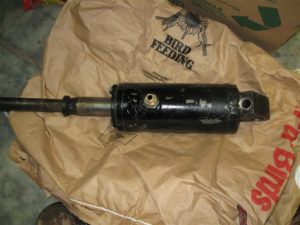
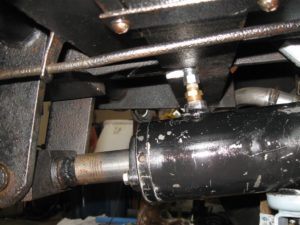
The first piece of the puzzle is to find a single action cylinder that will fit in the frame and has the appropriate bore and stroke. The bore (the diameter of the cylinder in which the piston travels) will determine the speed and power of the lift. The stroke is the distance from a fully closed to a fully extended cylinder. Newgren used at least two different styles of cylinders. Our cylinder body was rusted and had to be replaced. In the process of rebuilding the cylinder the stroke was shortened, mostly like when the rod was replaced. The end result is that we don’t have the full range of lift.
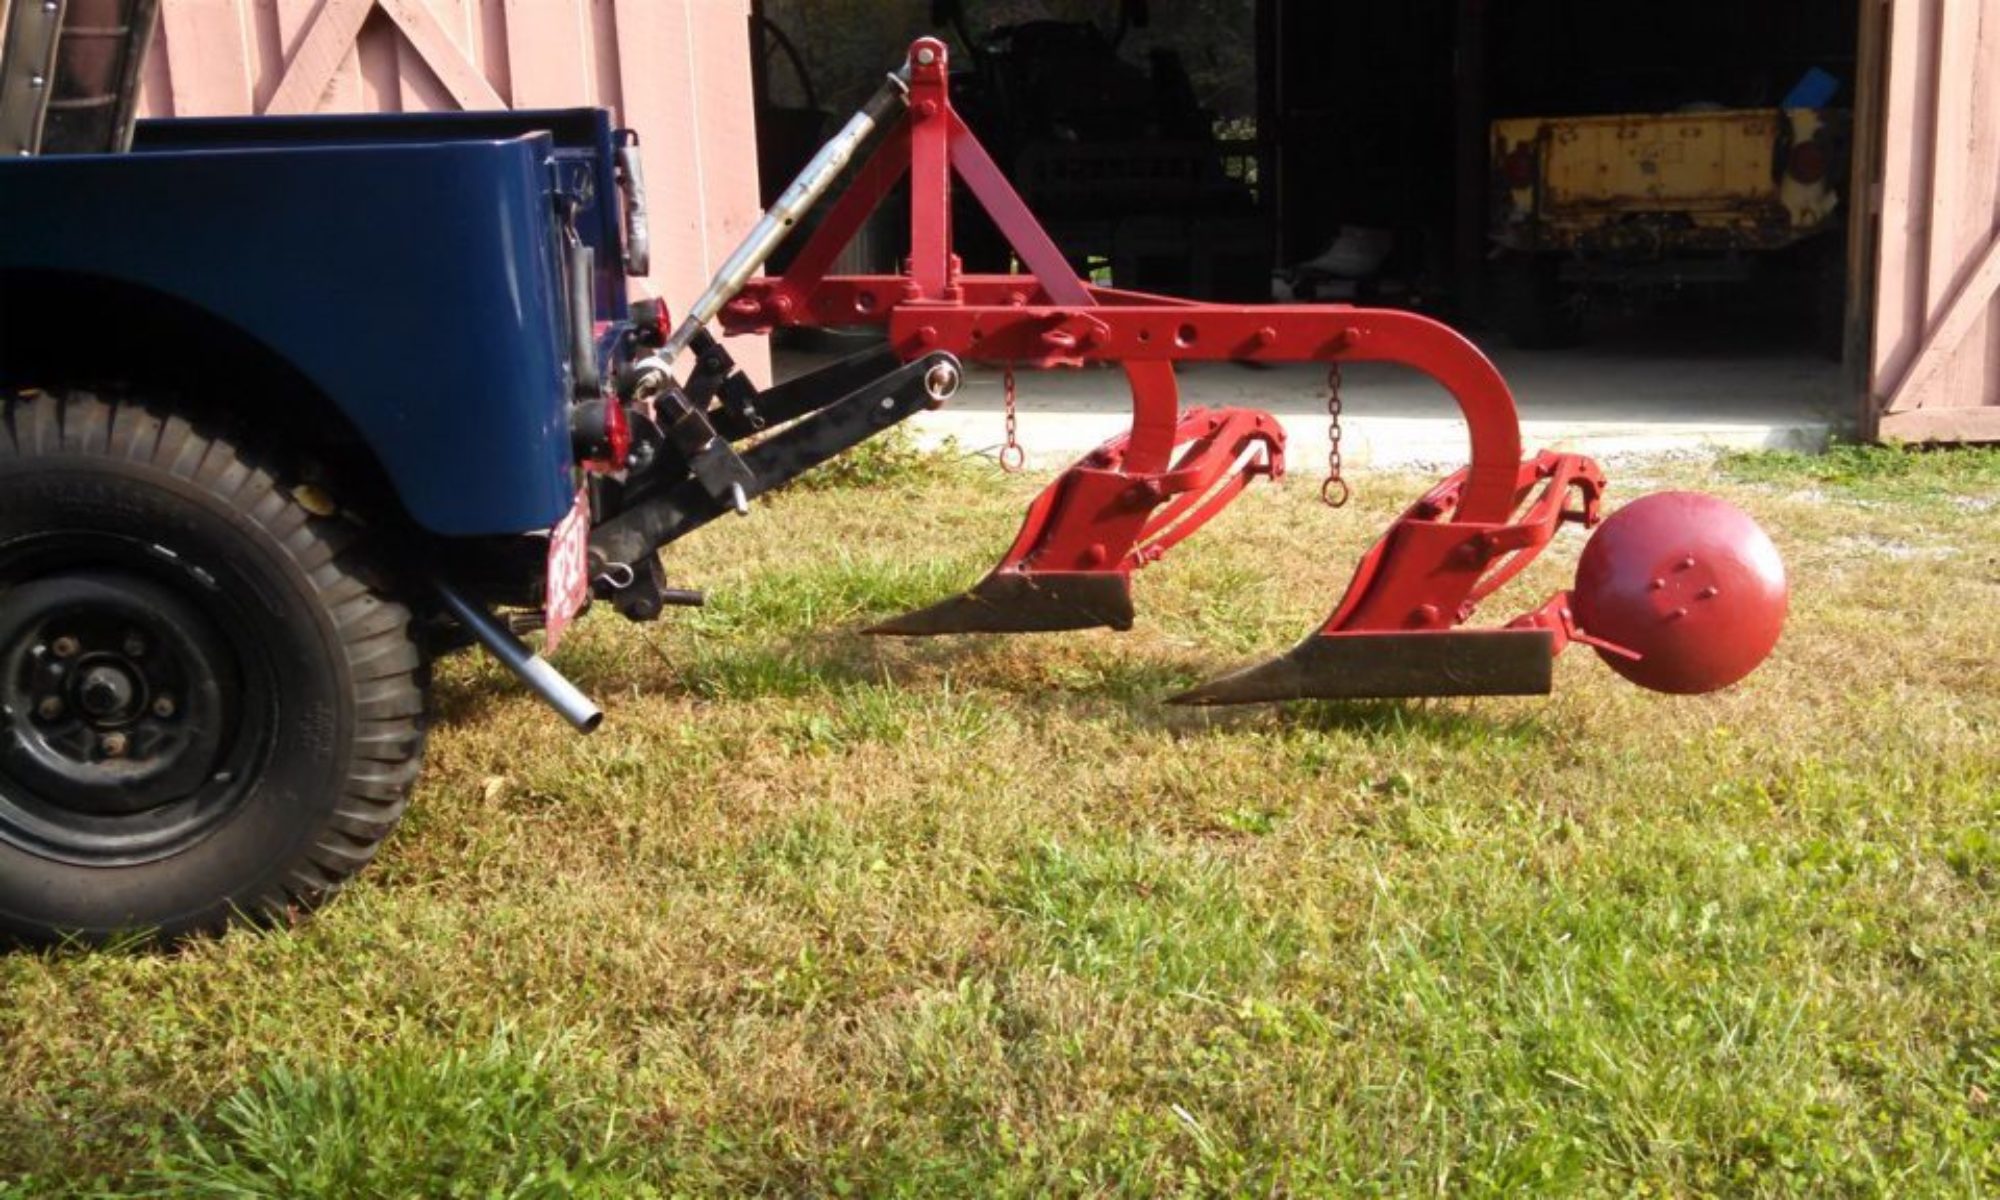
The Newgren lift uses a large metal “push” block to move the implement up and down. The critical measurement for the cylinder is the stroke length. The cylinder must be able to push the block and attached short arms through the complete lift arc.
We believe our cylinder to be a 3″ bore with a 6″ stroke. At this point, we would have hoped to have had a recommendation for a modern day replacement. We don’t. We are sure that one exists and we will try get recommendations from others. When we have information we will update this post. But for starters, you will need a cylinder with a base mount that will fit the Newgren frame and no rod mount. The rod rides in the lift block and will require a stop or collar to engage the block.
Going in the right direction
The Love lift and the Newgren lift had a control handle next to the drivers seat. This was possible because the hydraulic control valve is located on the front of the reservoir. It uses a spring-loaded push/pull rod to raise and lower the implement. Releasing the handle returns the valve to the neutral position. Our control valve doesn’t seal properly and allows the cylinder to leak down. The Newgren valve doesn’t have O-rings or other seals that can be replaced.
We attempted to find a modern control valve to replace the original but haven’t been able to do so. An alternative might be to mount a control valve between the seats. You would loose the ability to control the lift from the rear of the jeep, a unique and handy feature, but could maintain the between the seats control. Another alternative would be to adapt the Monroe solution of having the reservoir and the control valve mounted between the seats. In a case, like Quentin’s, were you don’t have a reserve tank in place, this might be a good alternative.
We are looking for someone to duplicate the Newgren control valve with provisions for O-rings, Again, if we find a source or have a duplicate made we will update this post.
Reservoirations
The original Newgren reservoir fits neatly inside the frame. It has a fitting on top for the air “bleeder” hose described above and the mount for the control valve. Most importantly it is sized to hold the proper amount of fluid and an air pocket for the cylinder. There is no easy way to fill the reservoir (you use the small pipe at the rear of the jeep) and no way to measure the fluid level.
The Newgren reservoir measures roughly 8.5″W x 10.5″L x 4.5″H and is held in the frame by a metal strap. Instructions say to fill the reservoir with 5 quarts of oil. While we are not aware of any ready-made tanks of this size, one could be fabricated. However, the reservoir does not need to be locate in the frame. Other solutions are available.
All kinds of pumps
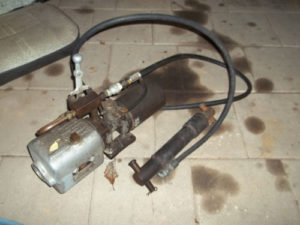
We have tried a number of different style pumps – crank driven, belt driven and electric. The Newgren lift pump (and the Monroe lift too) used a pump mounted on the front of the crank pulley. The pump was/is the same pump used on International Harvester series “A” and series “C” tractors. It has a flow rate of around 4 GPM. These pumps are still available from IH/Case parts suppliers, but are very expensive. This is the pump we currently have installed.
Pictures of Newgren lifts have shown that belt-driven pumps were also used. Our guess is that these where replacements for the failed crank pulley pump. It should be noted that the Love lift did use a belt driven pump and these may have also been used on the very early Newgren version. The most common belt-driven pump is the Monarch HY-LO series. Good information here – http://www.ewillys.com/2012/10/29/monarch-hy-lo-hydraulic-brochure/
The HY-LO-Jeep pump was commonly used for snow plows and they are still available. This is combination pump/reservoir/control valve. The control valve is operated via a rod that fits through the firewall and a mounting bracket under the dash. For applications like Quentin’s, this would be a simple solution. You would not have between-the-seats control or at the back of the lift, but otherwise a very good alternative to the crank pump .
There is a version of the HY-LO-Jack that is a pump only (no reservoir or valve). We own one of these but failed to get it to work properly, most likely because it was worn out. And once these gear type pumps are worn out, they cannot be rebuilt. You need to be very cautious of buying used gear type pumps that have lots of hours on them.
Electrified
A clear advantage of using an electric pump is that it only runs when needed. Our CJ2a had been converted to 12 volts when we found it. Since we were having problems with the HY-LO pumps, we decided to purchased a 12 volt pump off ebay. The first had its own reservoir and this setup did not work well. Unencumbered by the thought process, we simple hooked the two reservoirs together. Rather than try to explain or analyze why this was a bad idea, we will do what we did back then and move to a pump without a reservoir. This second pump, which had been used on a truck lift-gate did work well and served us until we acquired the crankshaft pump and bracket.
At the time when we were searching for an electric pump, there were few options within our budget. A check of ebay today shows many pumps available. Included in the list at the time of this posting was a 12 volt version of the Monarch HY-LO pump.
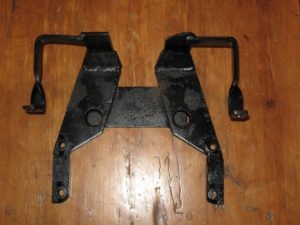
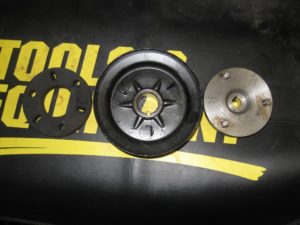
The “special” crankshaft and pump adapter used on the early Newgren offer no special advantages. It may difficult to find the Monroe style, but it is much improved design and uses the standard Willys pulley.


Hi Barry and Evan,
Can you please send me some info on the 12v pump that was hooked up to the Hy-Lo Monarch pump in your The Things We Have Learned on the Newgren Lifts (11/2017) post? I'd love to see how it mounts to the Hy-Lo pump/ part number etc. if possible and thank you for the post.
We don't have a parts list. However, Monarch is still in business. Might be worth contacting them to see if they might have a parts list or original diagrams or plans. Electric versions of the Hy-Lo pump occasionally appear on E-bay. Good luck.