 Our farm jeeps don’t have tops and, in the case of Ole Yeller, there is no windshield. So we have never worried about windshield wipers. That is until we decided it would be fun to be able to drive Ole Blue on the road. To pass the antique vehicle inspection, we had to have both a windshield and working wipers.
A 1949 CJ3A would have come with a vacuum wiper motor on the driver side and a manual wiper on the passenger side. Ole Blues windshield had no glass and an electric wiper on the driver’s side. The original vacuum motor was powered by the fuel pump. The fuel pump we installed in Ole Blue was a non-vacuum model. So the decision was made a couple of years ago to install electric motors.
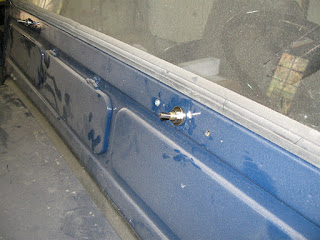
The kit contained some rubber washers, a metal washer cover and a nut. We inserted the shaft through the windshield frame using the provided hardware and marked where the outer tubing should be cut. Using the Dremel tool, we quickly cut through the outer tube. Next we measured the depth of the wiper arm mount and, again, used the Dremel tool to cut the
 inner shaft. The second wiper was cut using the same measurements.
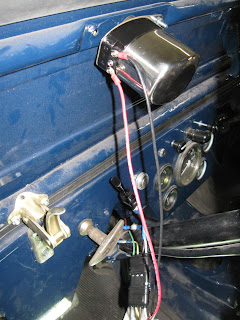
 The wiring diagram showed two ground wires, one switched, and a positive wire. The switched ground wire apparently allowed for “auto parking” of the blade. We wired the units according to the instructions and placed the wires inside wire covers. We tied the switch, for now, to the lower steering column. The wires to the passenger side tucked nicely in a channel of the windshield frame.
We reconnected the battery and flipped the switch. It works! Next we mounted the blade arms and blades. Even though the motors were supposed to park when switched off, we had a hard time finding the right spot to mount the arm so it stayed on the glass. After a couple of tries we did get them into position.
During testing the wipers would some times not shut off when the switch was off. The spacing on the terminals is so close that there may have been a short. In any case we choose to give up the “auto park” and moved the switch to the positive wire.
The wipers performed without a hitch during the inspection and that was the goal. There is clearly room for improvements and we will most likely buy a new motor for the driver’s side that has a built-in switch and a manual arm for the passenger side.

